2.4. Configuration du poste de travail
2.4.1. Configuration de la base de données
To tell a workstation, where the database is (on the local system or on a network server) you will have to create some files initially on every device on which you will have QGIS/QGEP running (client). It is not required to do that on the server itself.
Ces étapes dépendent de votre système d’exploitation.
2.4.1.1. Windows pg_service
Créer un nouveau dossier où vous souhaitez enregister la configuration. Par exemple pgconfig dans vos documents. Ce dossier sera connu sous le nom de PGSYSCONFDIR dans ce guide.
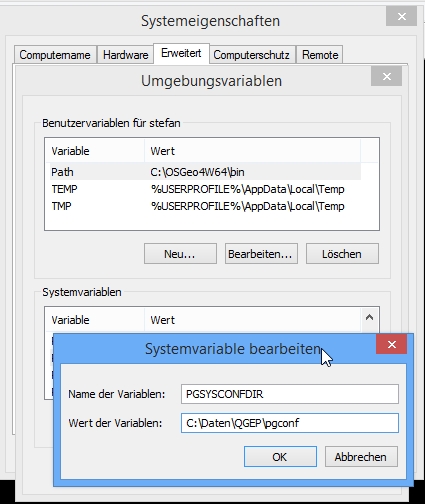
Configurer la variable d’environnement PGSYSCONFDIR pour pointer sur le chemin de PGSYSCONFDIR
Note
Search for environment variable in your windows system settings, then click one of the following options, for either a user or a system variable:
Click
Newto add a new variable name and value. Click an existing variable, and then clickEditto change its name or value. Click an existing variable, and then clickDeleteto remove it.
You can check your environment variables also within QGIS: Menu Settings –> Options... –> System Tab –> Environment
Dans ce dossier, vous trouverez deux fichiers
pg_service.confpgpass(si vous ne souhaitez pas entrer le mot de passe à chaque connexion)
Attention
On Windows, you need to save pg_service.conf in Unix format in order to work.
One way to do it is to open it with Notepad++
and Edit –> EOL Conversion –> UNIX Format –> File save .
2.4.1.2. Linux/macOS pg_service
On Unix systems (linux/macOS etc.) you may put the files .pg_service.conf
and .pgpass into your home folder (normally /home/[username]). Pay attention to the starting . (<> Windows)!
If your QGIS doesn’t find the .pg_service.conf file, set the environment variable PGSYSCONFDIR:
In QGIS go to Settings > Options > System tab. Near the bottom you’ll find Environment. Tick Use custom variables and click on the plus on the right. Add the PGSYSCONFDIR variable using Append (to make sure you don’t delete anything - doesn’t matter probably) and its value (probably /home/[username] see above). Then click OK at the bottom right.
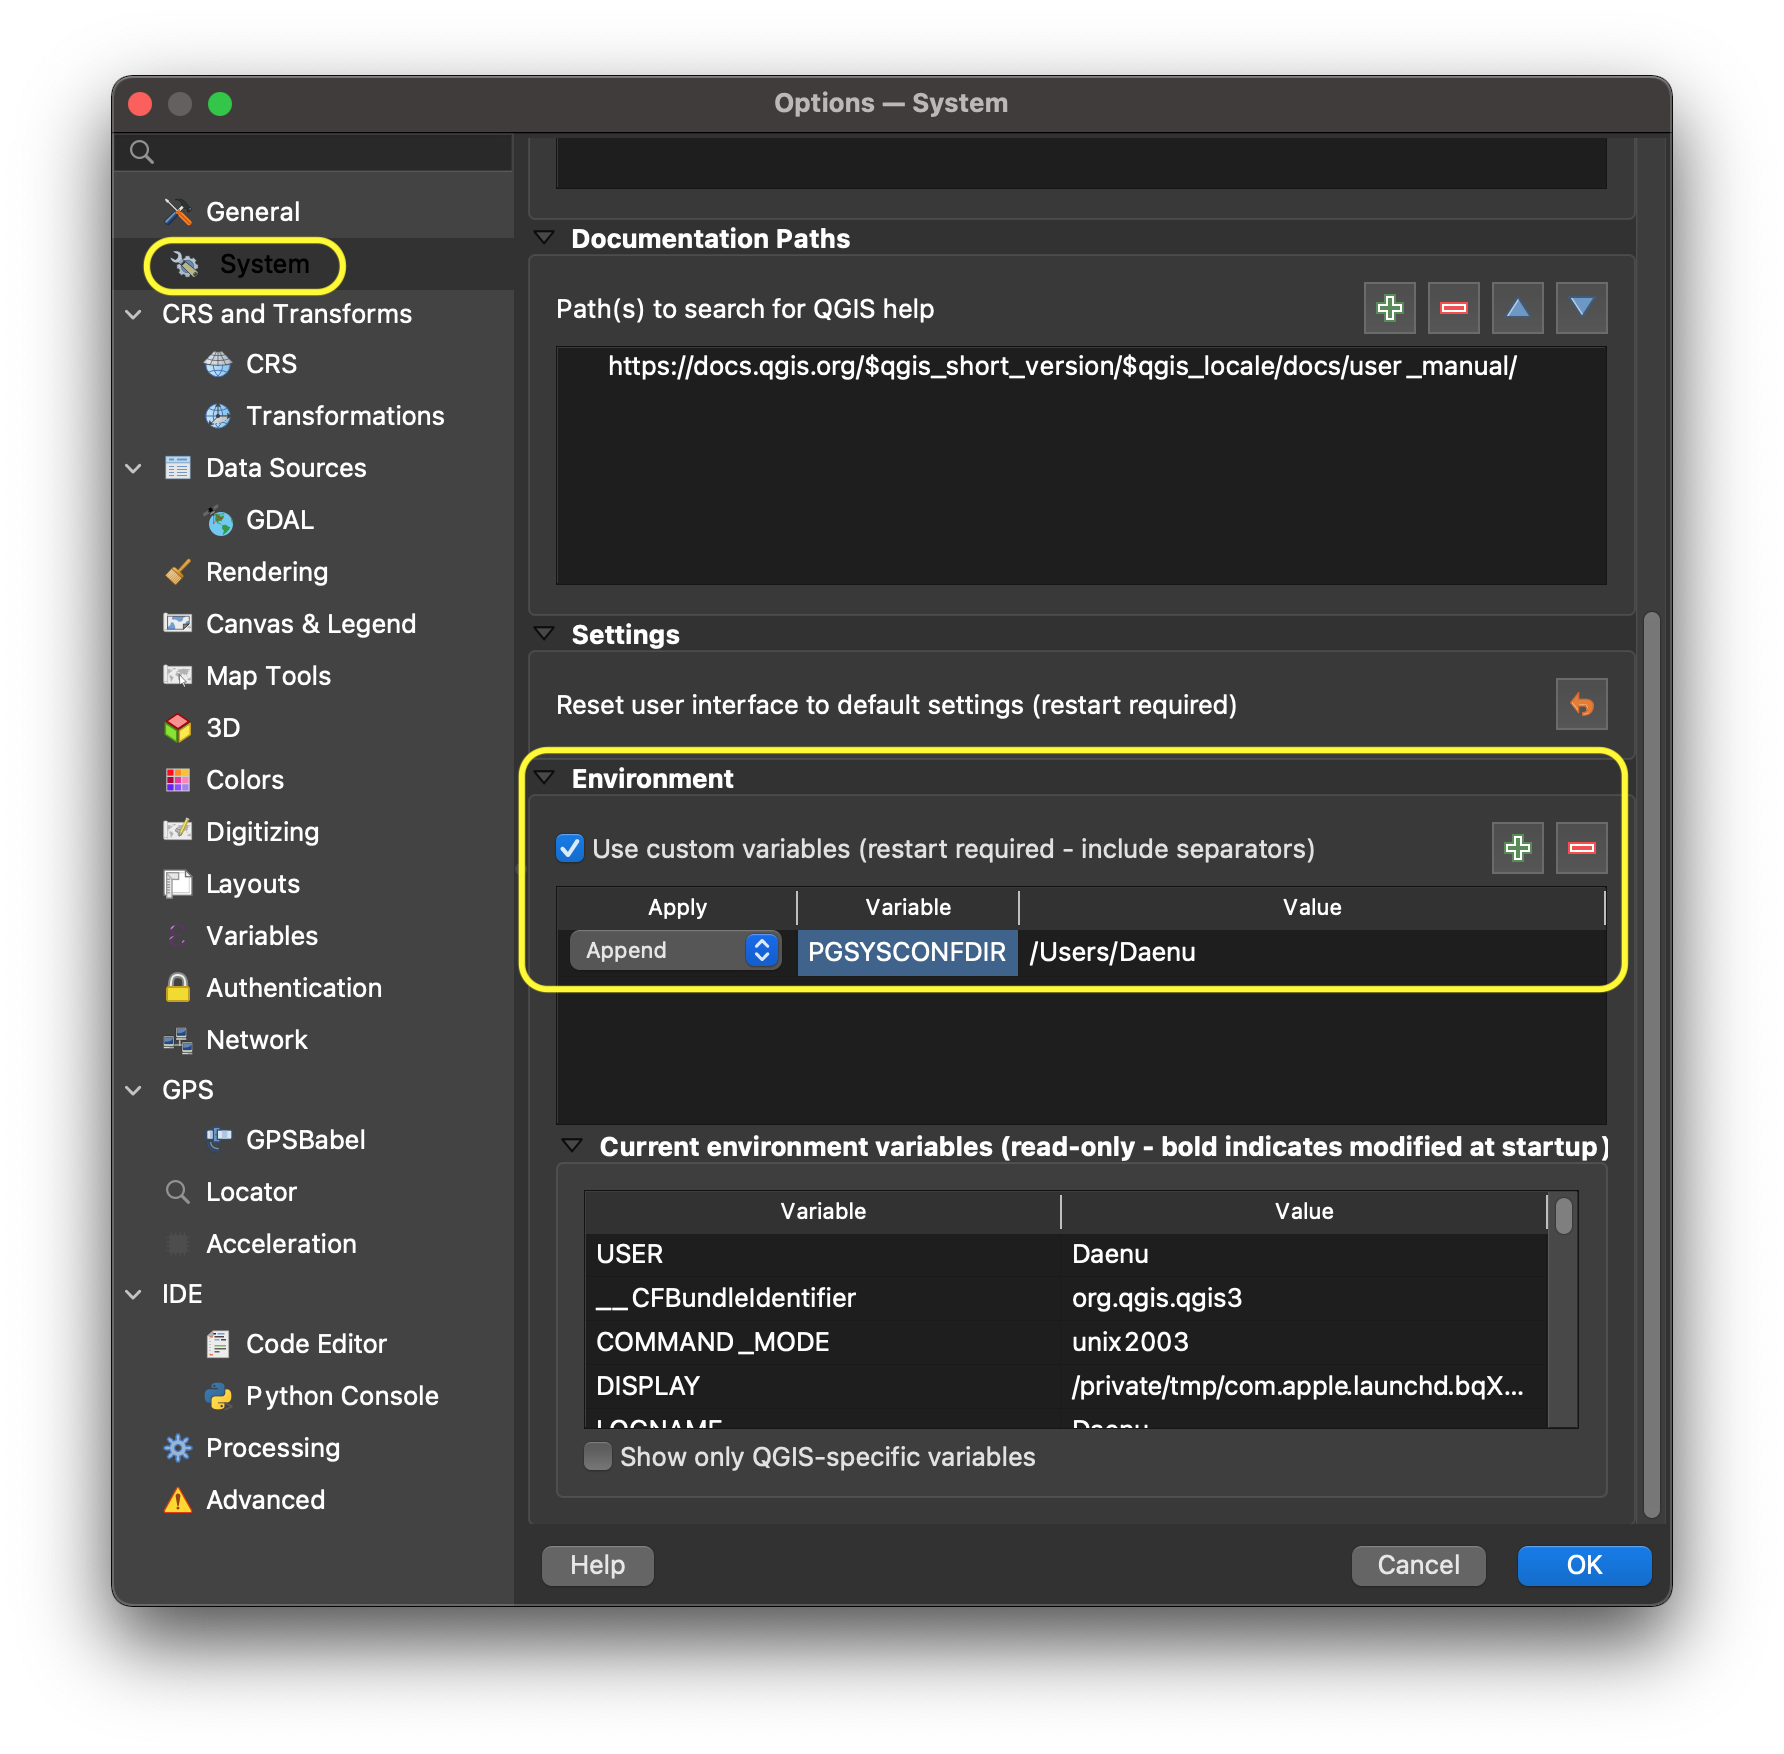
After closing and reopening QGIS, you should be able to see the added PGSYSCONFDIR at the bottom of the same window under Current environment variables.
.. figure:: images/macEnvVarCheck.png
2.4.1.3. Tous les systèmes
Placer les lignes suivantes dans le fichier pg_service.conf ou .pg_service.conf. Vous devrez peut-être apporter des modifications selon votre configuration.
[pg_qgep]
host=localhost
port=5432
dbname=qgep
user=qgepuser
Pour enregistrer le mot de passe sur votre système, vous pouvez utiliser le fichier pgpass.
localhost:5432:*:qgepuser:password
Note
Si la base de données n’est pas sur votre poste local, remplacer toutes les occurences de localhost par l’adresse réseau du serveur de base de données.
Alternative: put your password directly into the pg_service.conf (on Windows) / .pg_service.conf (on *nix) file:
[pg_qgep]
host=localhost
port=5432
dbname=qgep
user=qgepuser
password=***
2.4.2. Installer QGIS
Configuration minimale 3.4
Nous vous recommandons l’utilisation des versions de développements de QGIS (appelées qgis-dev sous Windows). Elles offriront une meilleure expérience utilisateur avec QGEP. Pour une installation sur Windows, télécharger l’installeur OSGeo4W Installer , choisir installation avancée et installer qgis-dev.
2.4.3. Installer le plugin QGEP
Exigences du plugin;
networkx >= 2.1
You can install them on Debian based systems with:
sudo pip install networkx
sudo apt-get install libqt4-sql-psql
Or for Windows users, directly in QGIS via the Python Console with:
import pip; pip.main(["install", "networkx"])
Ouvrir QGIS
Aller à « plugins »
« installer/gérer les extensions »
« Paramètres «
Activer l’onglet Afficher les extensions expérimentales
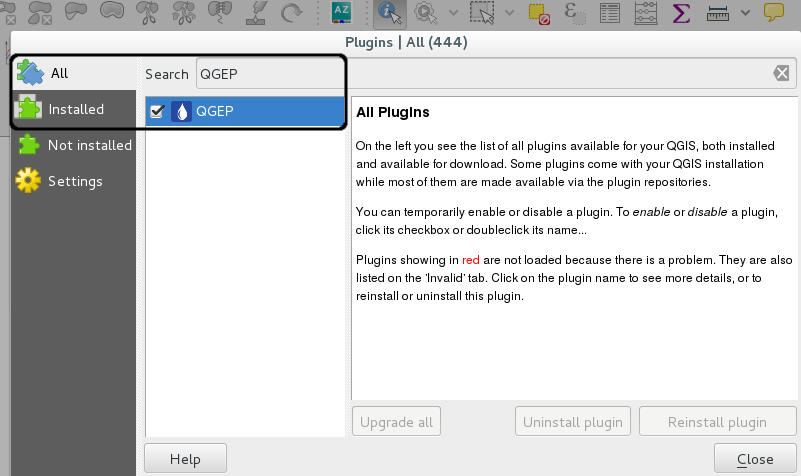
Activer le plugin (voir l’image ci-dessous):
Tous
Chercher QGEP
Cocher la case à côté
Ajouter le plugin QGEP
QGEP uses a data historization process. The pg history viewer plugin allows you to view the changes made and replay some of them.
2.4.4. Install the demo data
as described here
2.4.5. Installation du projet de démo
Download from https://github.com/QGEP/qgep/releases/latest the qgep.zip
Extraire le ficher
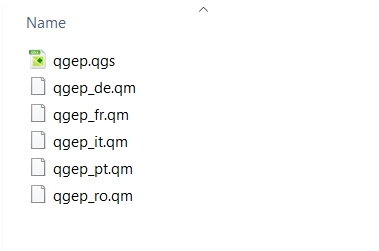
If you leave the qgep_[language].qm files in the same directory as the qgep.qgs file and start QGIS with one of these languages, your qgep-project will be translated to that langue when you start the project. E.g. you start qgep.qgs with a QGIS Installation that is set to German, then the qgep.qgs project will appear in German.
Note
You need to explicitly set the language in QGIS in settings. If QGIS is configured to take the system language, the QGEP translation is not loaded.
Open project/qgep.qgs with QGIS
When you save that project it will keep it’s language and it cannot be changed in the same way.
2.4.6. If you are a data owner: Add your own OID to the project
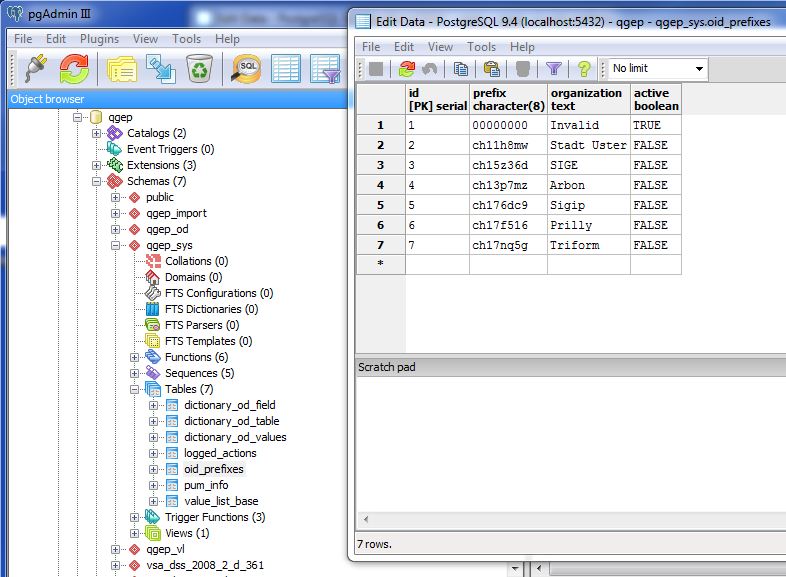
If you are a data owner (Datenherr), you should add your OID data in the table qgep_sys.oid_prefixes:
Edit
02_oid_generation.sqlwith your OID if you want it permanently in the QGEP project and hand in a pull request
https://github.com/QGEP/datamodel/blob/master/02_oid_generation.sql
-- sample entry for the City of Uster - you need to add an entry for your own organization
INSERT INTO qgep_sys.oid_prefixes (prefix,organization,active) VALUES ('ch11h8mw','Stadt Uster',TRUE);
INSERT INTO qgep_sys.oid_prefixes (prefix,organization,active) VALUES ('ch15z36d','SIGE',FALSE);
INSERT INTO qgep_sys.oid_prefixes (prefix,organization,active) VALUES ('ch13p7mz','Arbon',FALSE);
et définir la valeur de l’IDO que vous voulez utiliser dans votre projet à VRAI.
ou ajoutez-le localement à votre projet avec une commande INSERER
OID prefixes have to be ordered at https://www.interlis.ch/en/dienste/oid-bestellen
Note
If you work with different databases for different communities, you should use different OID prefixes for each database.
2.4.7. Travailler avec plusieurs base de données
Create a new database in pgAdmin with a new name, e.g. communityA
Créer un nouveau schéma qgep dans la base de données (ne pas changer le nom, car tous les scripts fonctionne avec le nom de schéma qgep)
Continuer comme indiqué dans 1.2 Initialisation de la base de données
Modifier le fichier
pg_service.conf
[pg_qgep]
host=localhost
port=5432
dbname=qgep
user=qgepuser
[pg_communityA]
host=localhost
port=5432
dbname=communityA
user=qgepuser
Chercher et remplacer dans la copie de
qgep_fr.qgstous les “pg_qgep” avec “pg_communauteA”